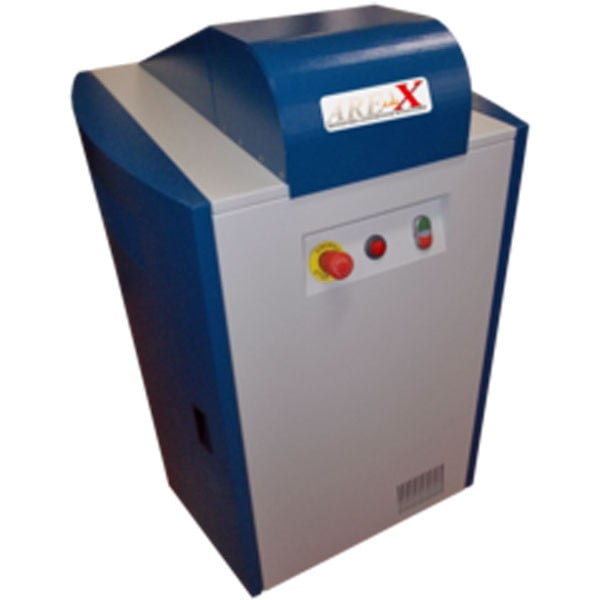
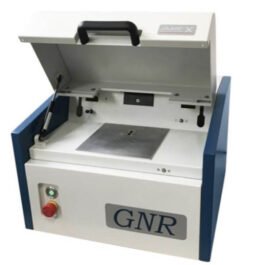
AreX L for fast and accurate Retained Austenite Measurement
Retained Austenite Measurement AreX L
Conforms to ASTM E 975-03 standard practice for retained austenite measurement.
- High accuracy.
- The standard deviation is better than 0.6%.
- Limit of detection 0.5% of RA.
- Fast measurement – 3 min max
- Laser alignment
- Easy to use one-button operation. No specific XRD information required.
- No Sample preparation required.
- Bearing samples up to 600mm or 1m diameter
- Z Stage
- Custom solutions available depending on the application.
- Durable instrument – No moving parts.
- Built-in Video camera for easy and precise sample positioning
Complete automated instrument to determine Retained Austenite
AreX L is an outstanding automated instrument to measure Retained Austenite in compliance with ASTM E 975 -03.
Accurate measurement of the retained austenite levels is important in the development and control of heat treatment process in steel industry.
X-Ray Diffraction (XRD) is considered the most accurate method available that can accurately determine retained austenite levels down to 0.5%.
Mechanical and physical properties of steels depend on phase composition. Phase transformation in critical and structural steel component is sensitive and important parameter to be evaluated.
Extremely low concentration and accurate determination of Retained Austenite is required in industrial processes. Traditional metallographic investigation like chemical etching and optical determination of Retained Austenite are often ineffective due to the low accuracy and sensitivity of method.
The integrated intensities of the austenite (220 and 311), and the ferrite (200 and 211) diffraction peaks are measured on the AreX diffractometer. The use of multiple diffraction peaks minimizes the effects of preferred orientation and allows interference from carbides.
AreX Laboratory is a fixed angular range high accuracy X-Ray Diffractometer. Modern precision AreX L is safe and easy to use. Designed for the quantitative determination of Retained Austenite confirms to ASTM E 975 03 and factory 4.0 specifications.
- Maximum Power Output
3 kW Output Stability < 0.01 % (for 10% power supply fluctuation) Max Voltage Output 60 kV Max Current Output 60 mA (option: 80 mA) Voltage Step Width 0.1 kV Current Step Width 0.1 mA Ripple 0.03% rms < 1kHz, 0.75% rms > 1kHz Preheat and Ramp Automatic preheat and ramp control circuit Input Voltage 230 Vac +/-10%, 50 or 60 Hz, single phase X-Ray Tube Type Glass Mo anode (option: Ceramic Mo anode) Focus 0.4 x 8 mm FF Collimation Monocapillary collimator: diameter 1-2 mm Max Output 3.0 kW Goniometer Configurations Vertical geometry Angular Range 27° < 2 theta < 40° Angular accuracy +/- 0.001° Sample Holder Dimensions 110 mm x 150 mm Detector Microstrip solid state Dimensions Width 658 mm, heigh 1059 mm, depth 762 mm X-rays Safety < 1 mSv/Year (full safety shielding according to the international guidelines) Computer Specifications PC with latest windows OS Items controlled X-ray generator, detector, counting chain Basic Data Processing Creation of calibration curves. Retained Austenite quantification
Acquisition and Analytical SW: Austenite
Microsoft Windows program designed for the control of the AreX Diffractometric System.
Automatic Retained Austenite quantification conform to ASTM E 975-03 Standard Practice.
Display, printout and disk storage of results.
- Bearing and Gear Industries
- Heat Treatments plants
- Automotive industries (gear boxes, transmission)
- Material and Failure analysis Laboratories

